Views are now enhanced with two cool options in your Android task manager MyLifeOrganized . Let us start with the first one, it is ca...

New options for views in MyLifeOrganized for Android


Views are now enhanced with two cool options in your Android task manager MyLifeOrganized. Let us start with the first one, it is called “Views update mode” and can be found in MLO settings.

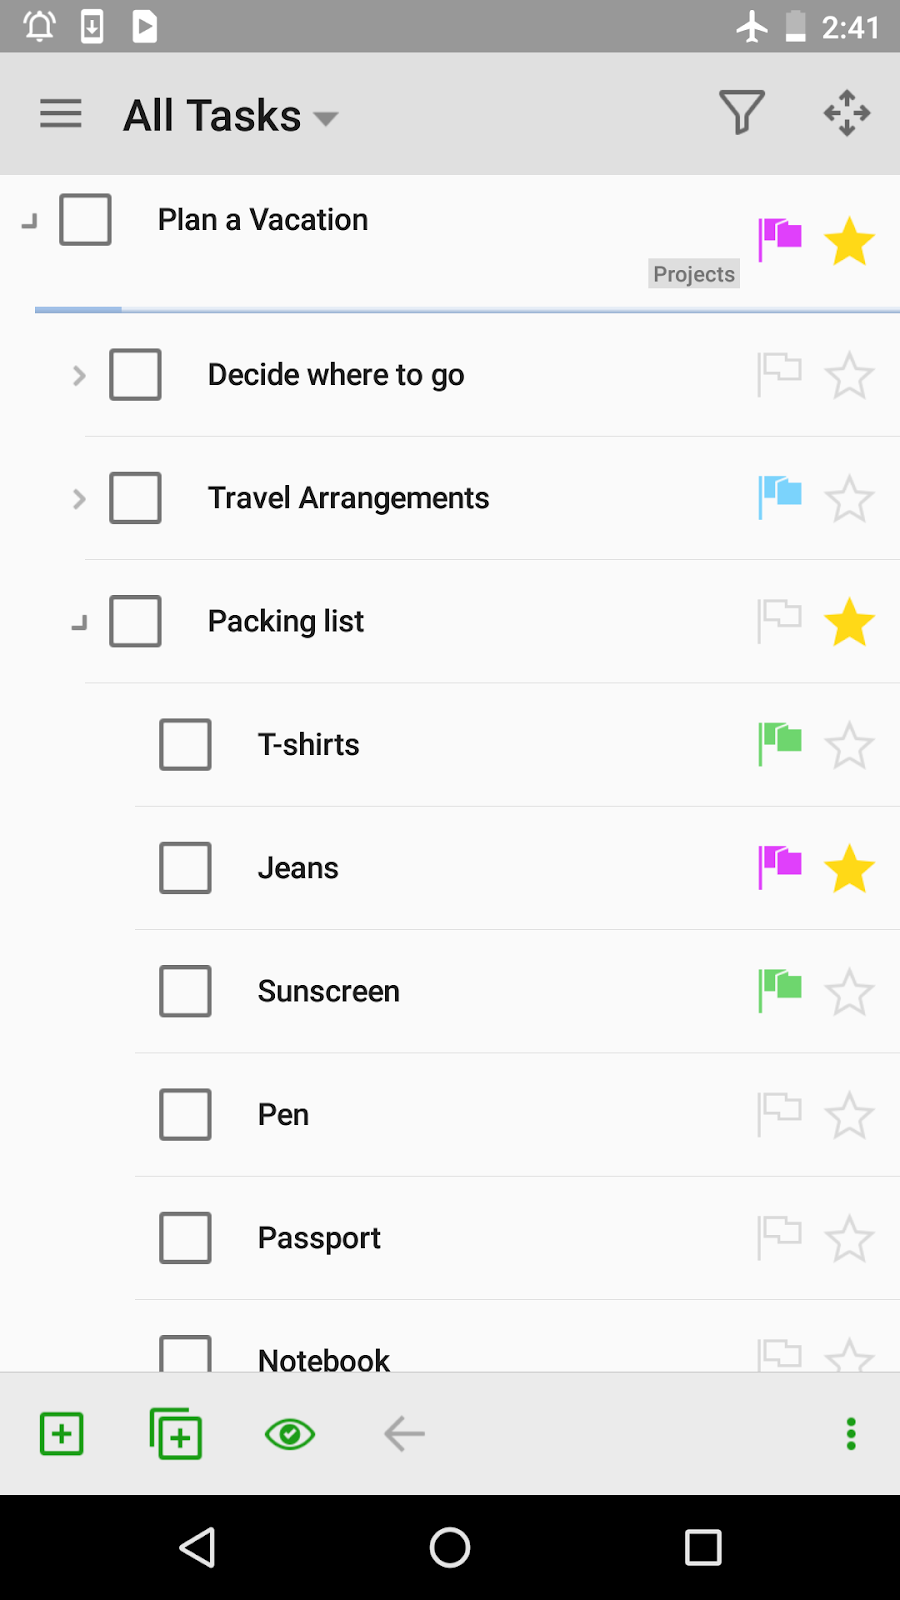
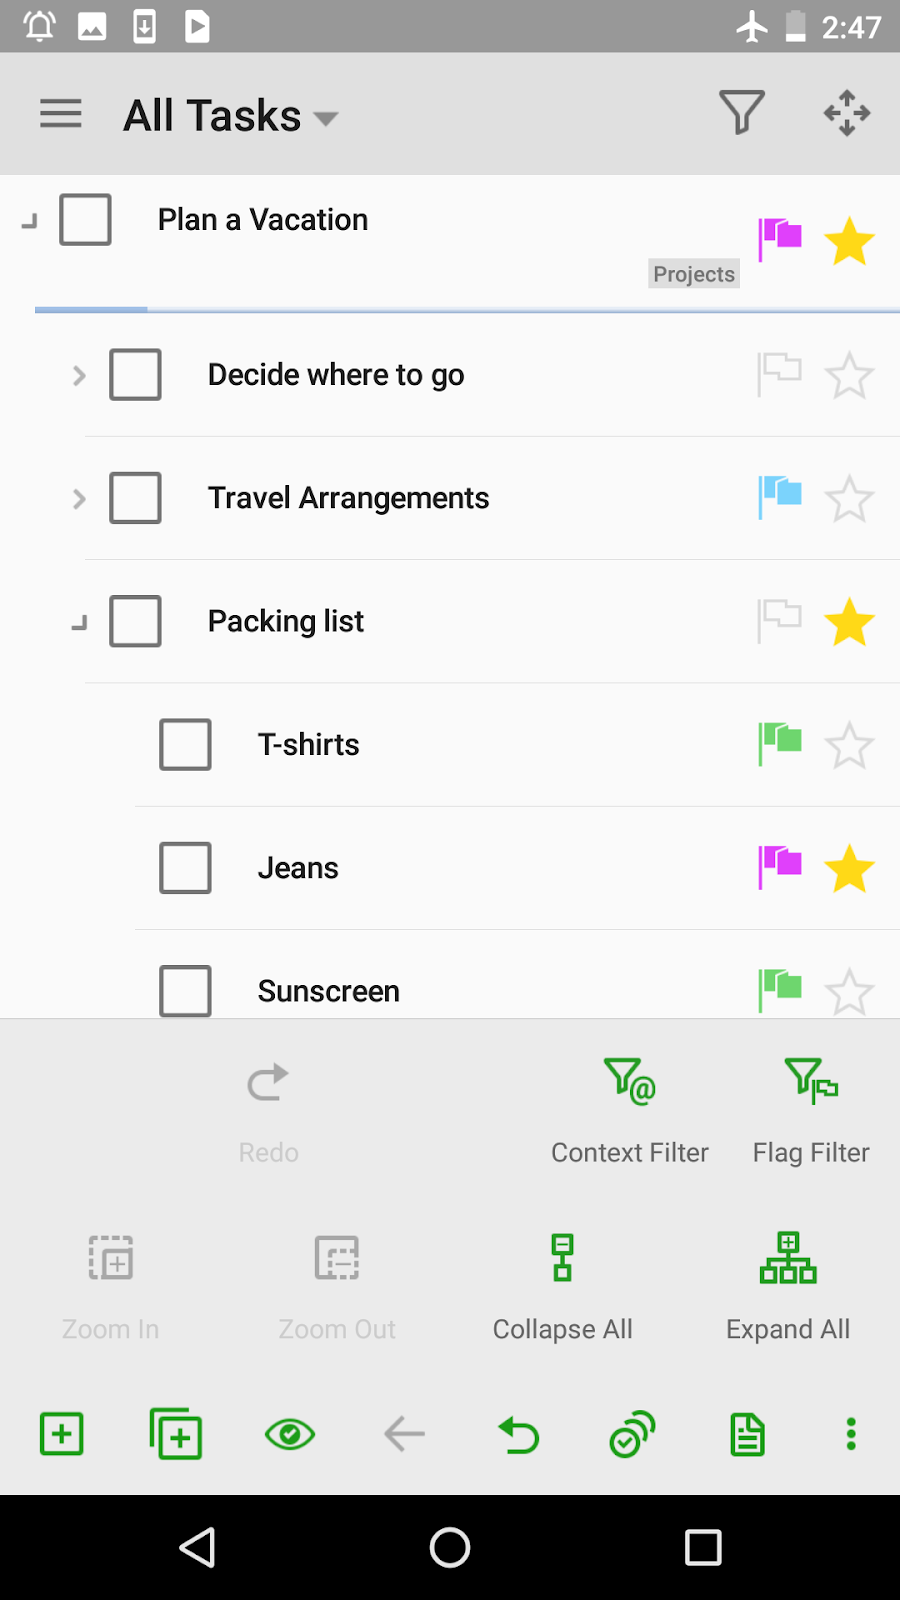
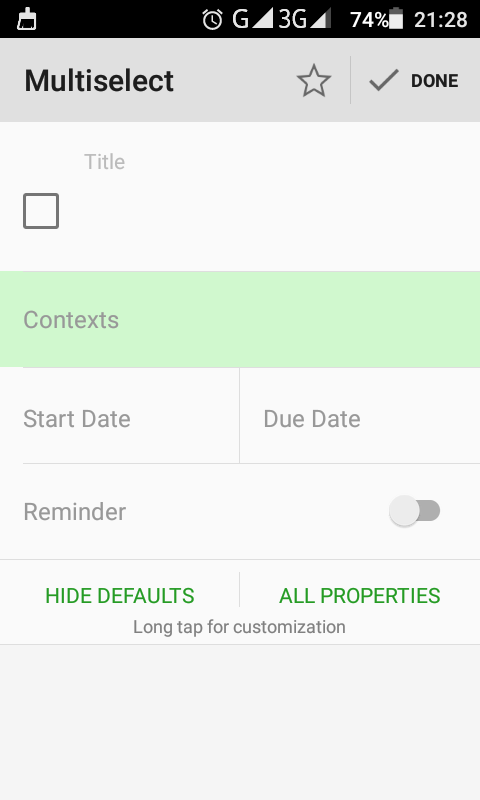
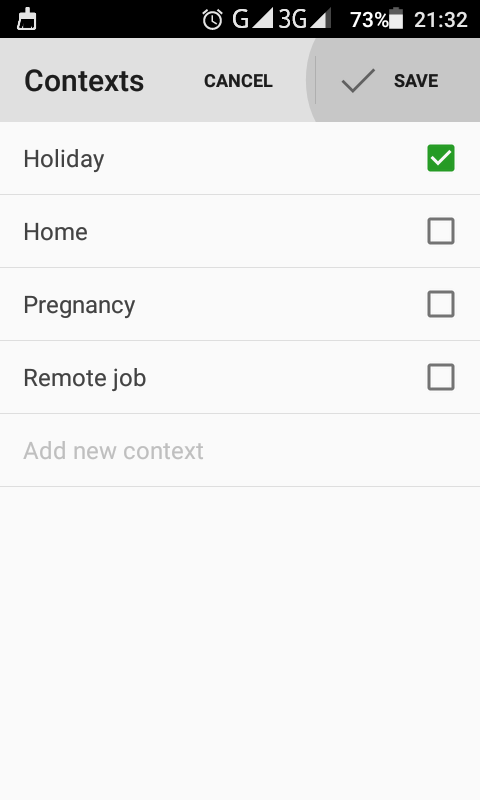
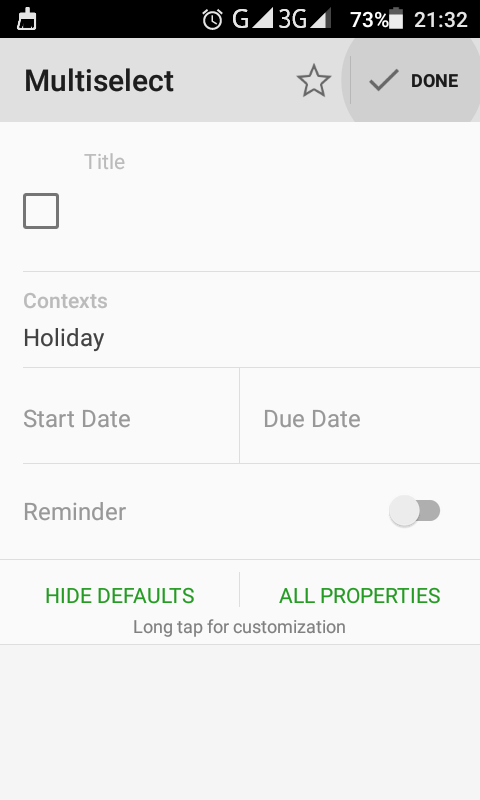
By default, as soon as you change the task so that it no longer corresponds to the current view, such task immediately disappears from this view. For instance, this occurs when you remove a star from a task in the “Starred” view or complete a task in the “Active Actions”. However, quite often it is necessary to make several changes in one or several tasks, and only after that update the view so that these tasks could disappear from the view or new tasks added to it after these changes. In other words, it would be better to control how fast to refresh the view with tasks. And this is what our new feature is about.

Thus, the view update mode settings allow us to update views either automatically (i.e immediately after the change, as it worked before this update) or manually (when you made all planned changes in the current view and ready to update it).

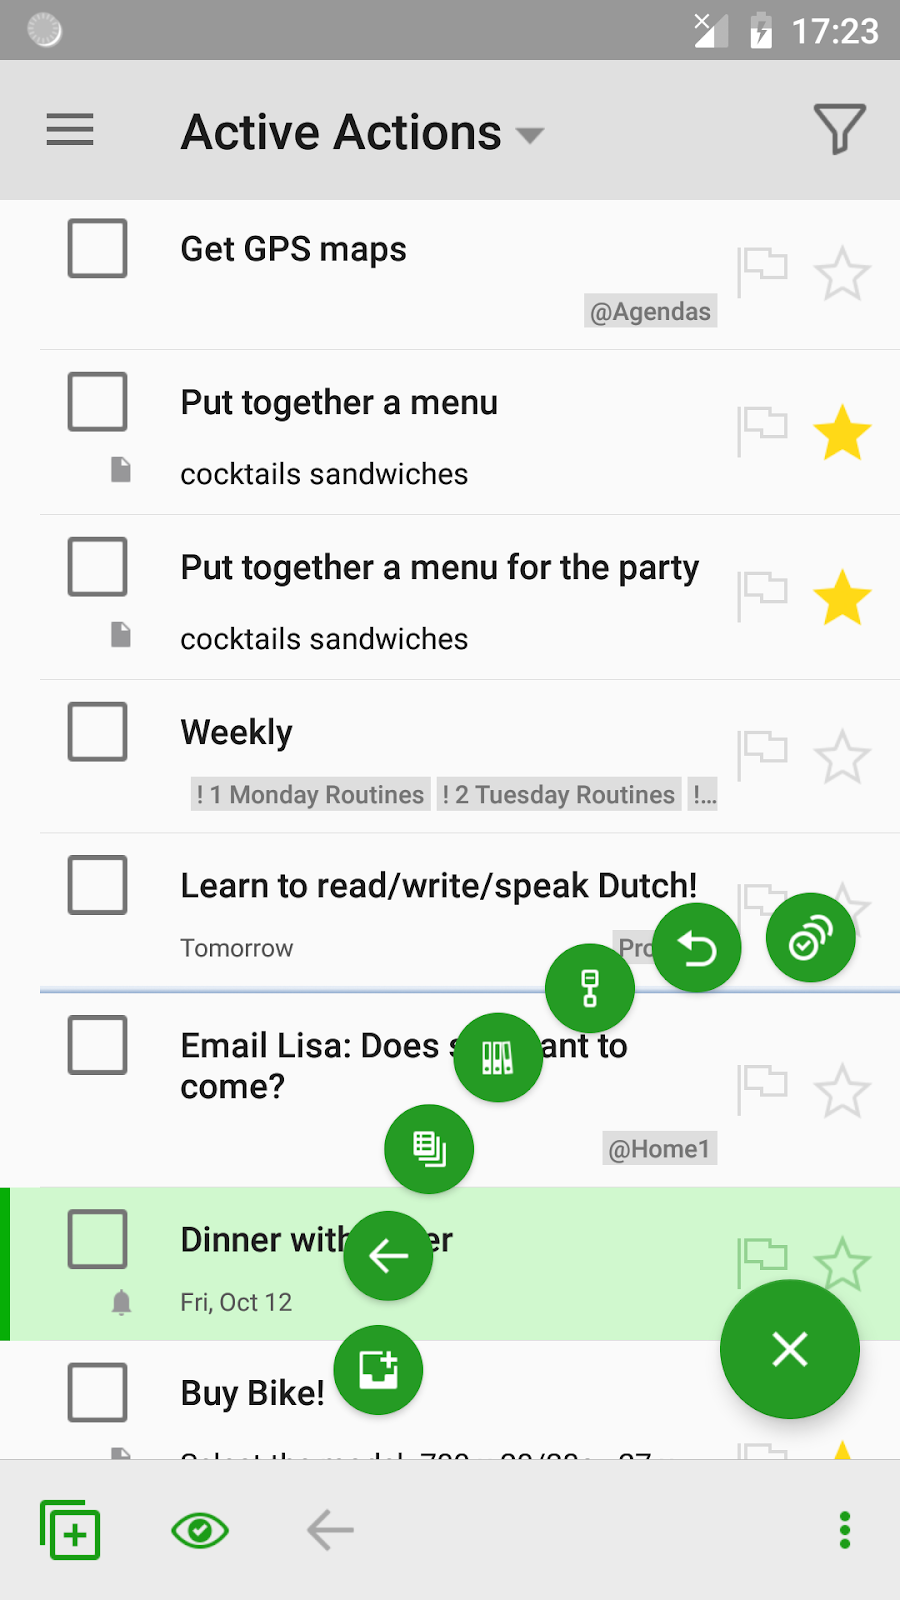
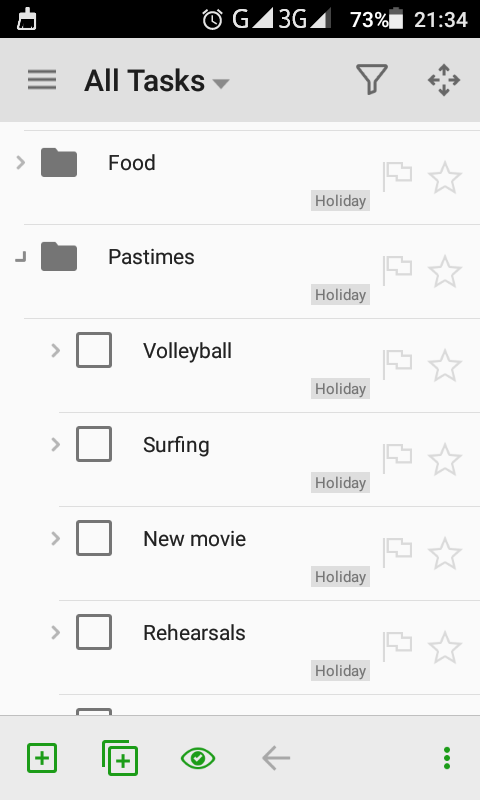
Look how to the view for "Starred" tasks can be updated manually:


Now in detail. First, we tap off the automatic update in the “Views update mode” settings. After that, we remove a star next to the task. The task does not disappear from the view of Starred immediately as it usually does, instead we see the current view name with a small asterisk before it. This asterisk signals us that we have made some changes to the tasks and the current view may be not up to date anymore. We can edit the task's properties and once done we tap at the top panel. Finally, the view is updated, removing the unstarred task from it while the asterisk disappears.

Tip. When dealing with the automatic mode, it may also be useful to tap for the “delay view update” option, which would mean that you will have time to tap several tasks before the view is updated. Thus, its update would be less abrupt.

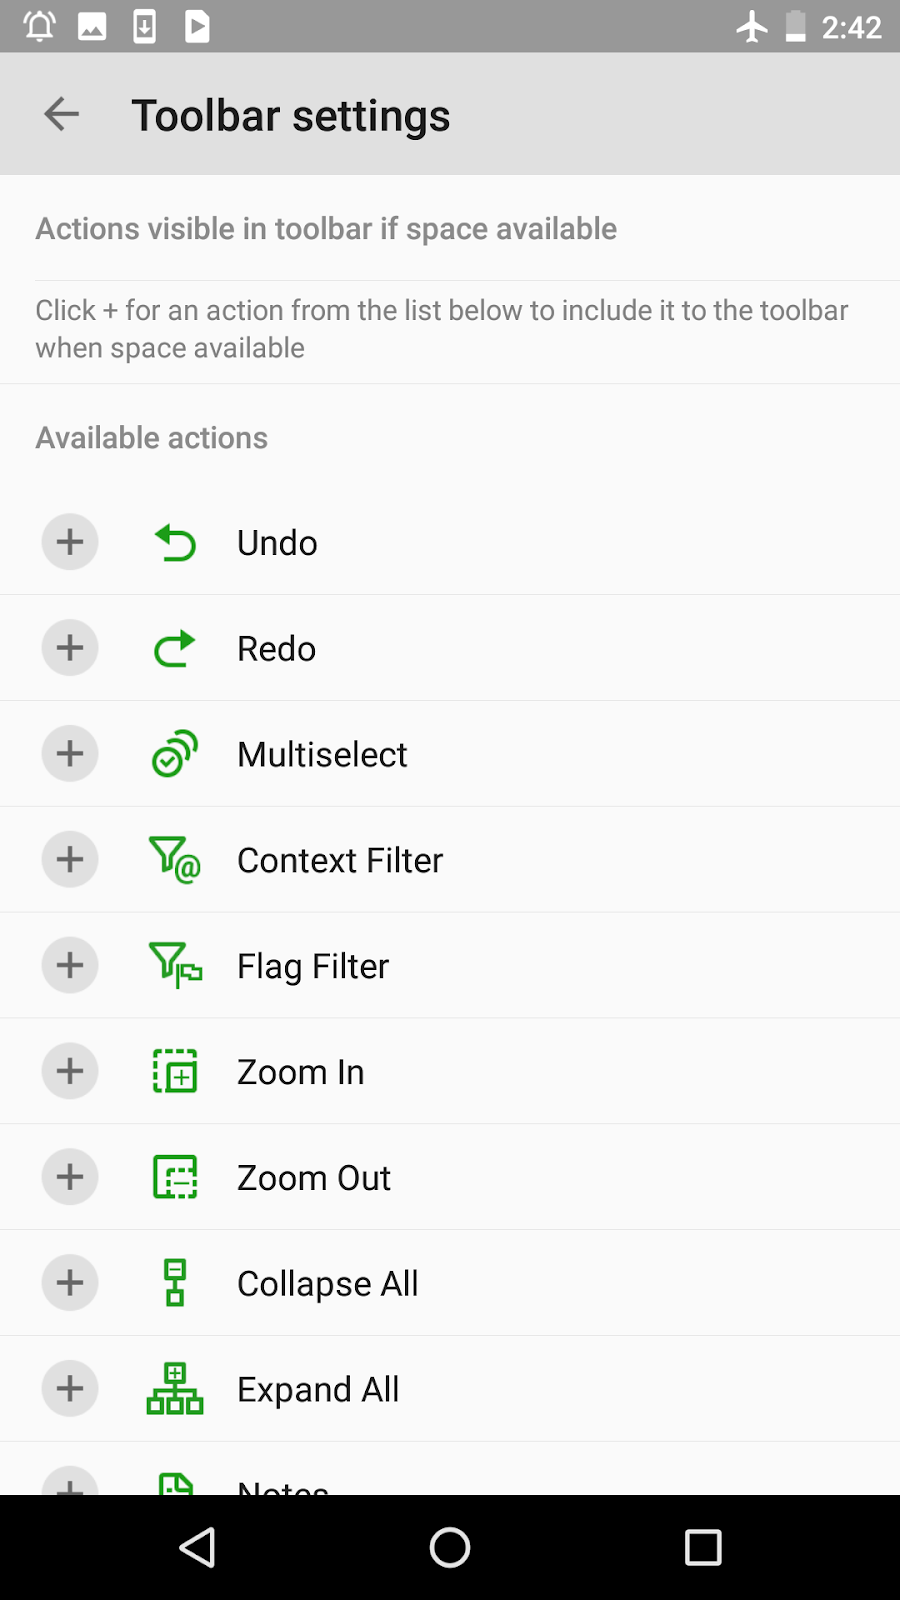
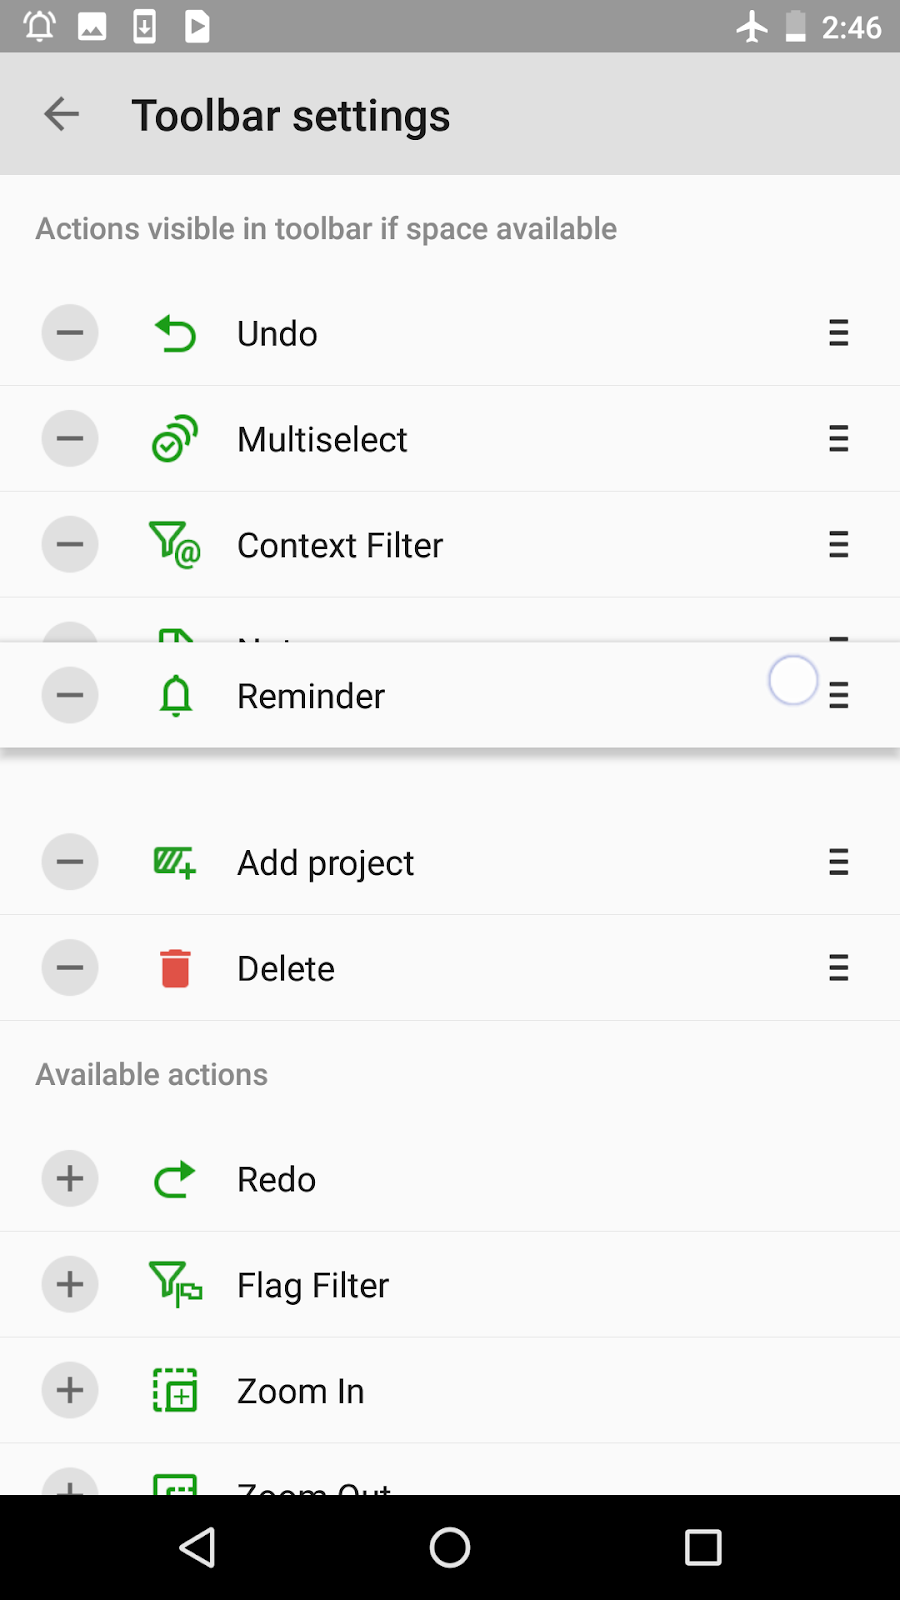
Besides, we can choose the update mode for each single view. In this case, each view can be configured separately with three suboptions, namely “Use profile setting” (which is default), “Automatic” and “Manual”. This means that you can set one view to update manually and another to keep the automatic updates as before.

This creates an unlimited space for configuring your own complex MLO planning systems and profiles. To start with, you may configure the “Active actions” view to be updated manually, so that, after completing a task, such task would not disappear immediately, but leave some time for considerations and final review. At the same time, you may keep the “Starred” view in automatic update as before since you usually need this particular view to refresh immediately after your change. Thus, each of your current decisions would be ultimately precise and accurate.

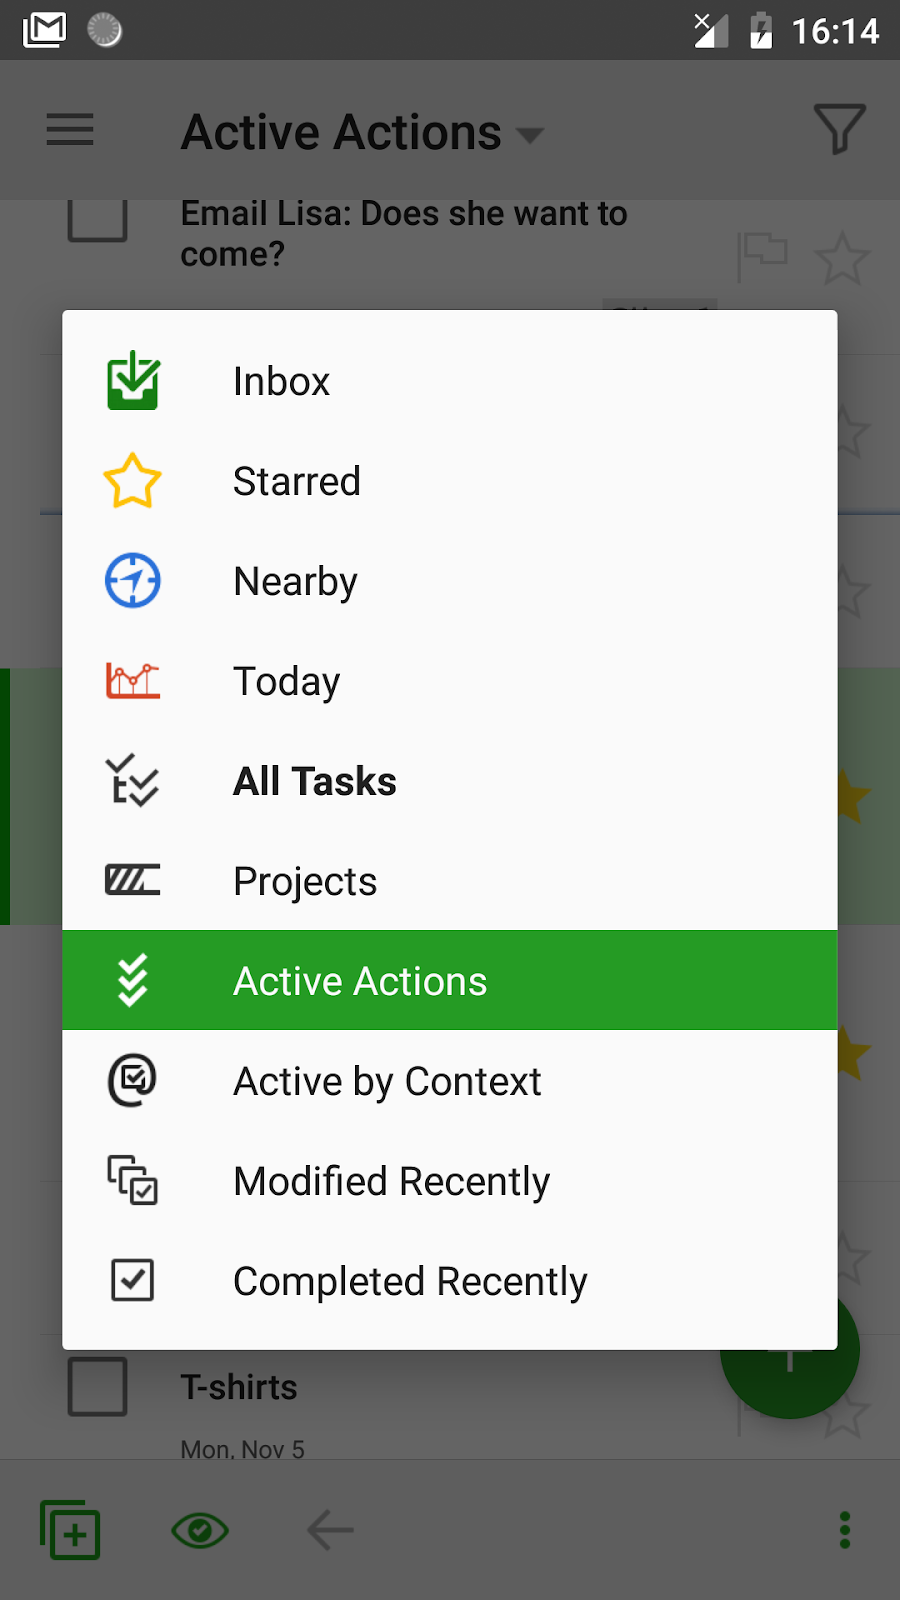
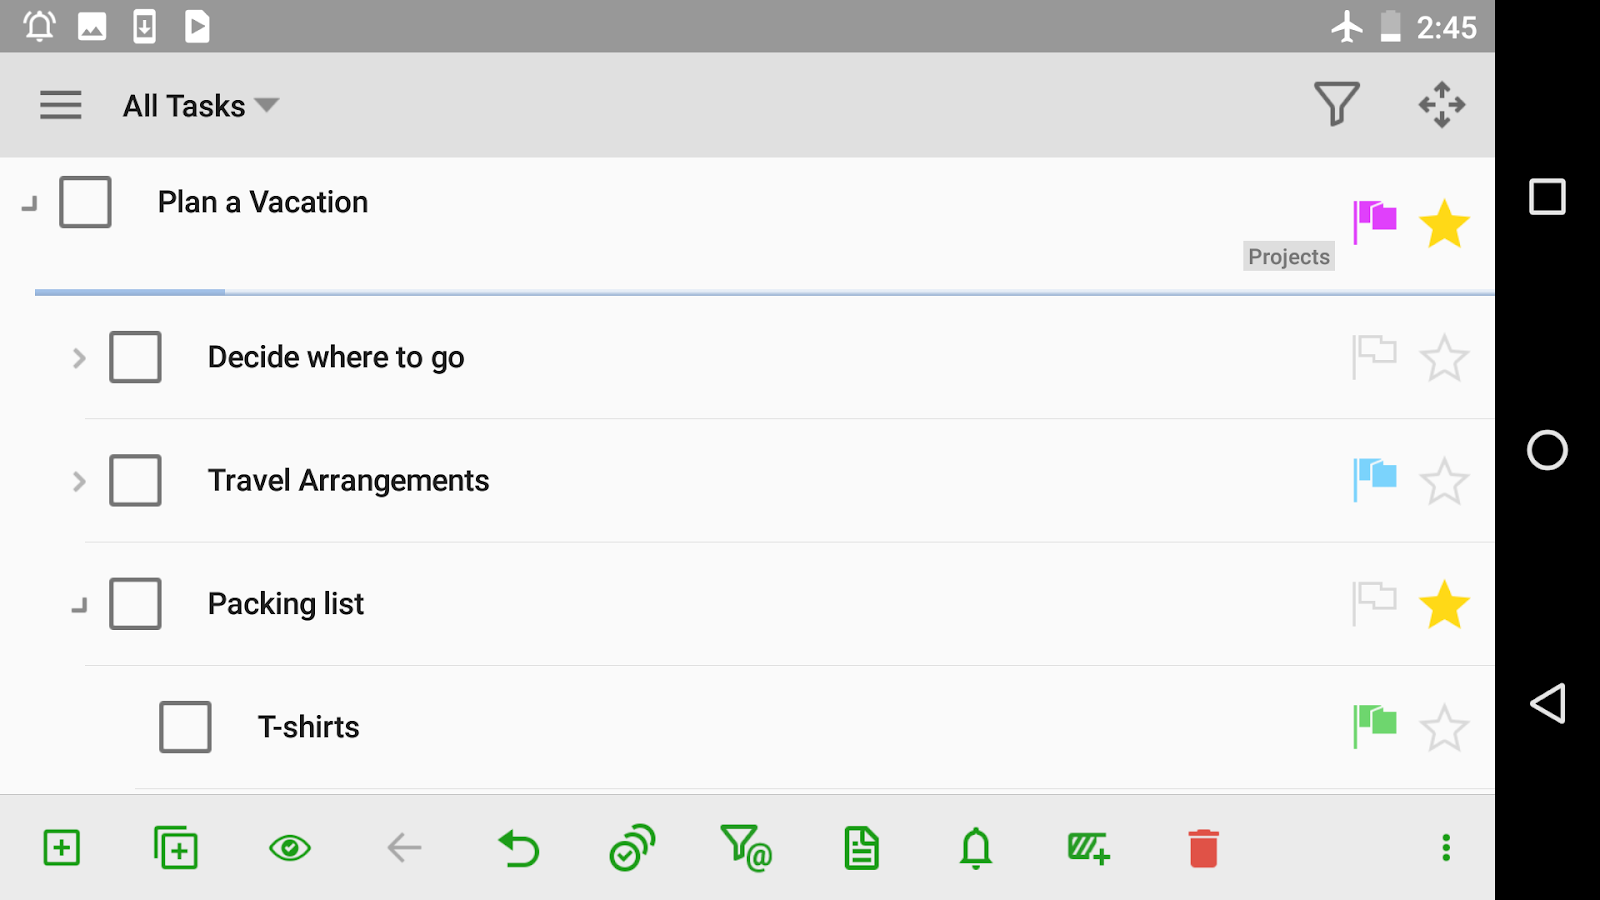
Using the second feature, “Switch view on the click”, we no longer need to switch a view only by using the main menu, but we can opt for a single tap at the top panel with the current view name. Therefore, for example, after tapping the asterisk in the manual mode, we can immediately proceed to another view by clicking the header the second time. This makes our experience of the view update brighter and saves lots of time when we need to be at top speed.


Finally, both features complement each other and your interaction with the app will be twice more effective.

Tip. The Pro version is required to use these features.

0 Comments:

A minor, but really wanted feature for MyLifeOrganized 3 Android task manager - flags in your widget. The feature is now off by defaul...

Bettering widget on Android

A minor, but really wanted feature for MyLifeOrganized 3 Android task manager - flags in your widget.

The feature is now off by default, so you will need to proceed to “MLO Widget settings”-> “Show flag” to turn it on:

Activating flags in widget

Now the flags are available for setting. Unlike in MLO outline where the flag selection dialogue requires long touch and a single tap sets a default flag, the MLO widget provides for selecting a flag only by tapping within a flag area on the right:


Besides, for ultimate productivity it is very convenient to use the "Active by Flag" view from the widget:

"Active by Flag" view in widget

This update is pretty handy both for people who enjoy using flags and for those who just plan to use them in future. We are sure you’ll enjoy it. Please share your thoughts with us as well!

0 Comments:

In the latest update for your Android Task Manager we substantially improved the edit task screen. What is the purpose of this update? ...

Clutter-free Task Edit on Android

In the latest update for your Android Task Manager we substantially improved the edit task screen.

What is the purpose of this update? MLO is powerful and flexible, and for this reason it allows you to set many different properties for the tasks. But for some users there is no need to use the full list of the properties all the time. Many of us use only a small part of them, while the remaining properties are left to distract us making the task properties editing screen overloaded. Can we solve and optimize this problem? We thought so, and now you can choose which task properties you need and which ones you hide.

From now on, we can choose between three modes for displaying task properties:
  • Custom property list,
  • Hide defaults,
  • All Properties.
The feature can be configured by a long tap on a mode selector on the edit task screen or in MLO settings (General Settings –> Customize task properties).
Let us consider each mode in detail.

“Custom property list” mode shows only selected and non-empty fields

The first mode, “Custom property list”, is designed to show only those fields that you have selected in configuration. If there are other non-empty properties for this task they are also added to the screen in this mode. In other words, in this mode the edit task screen consists of all the properties you selected as well as non-empty properties of a particular task (even if you did not select them). Thus, while showing both selected and filled in properties, other task properties stay hidden and don’t distract.

Let’s see how you can configure which properties you want to see in this mode. Long tap the mode selector to open the configuration screen. On this screen the properties can be selected from the “Available task properties” group by tapping a plus, and moved back by tapping a minus. You can also reorder the selected properties to see them in a specific order on Edit Task screen.


The second mode available is called the “All Properties” mode. It provides us with the full list of properties available for this or that task:


Moreover, you may also like to use the “All Properties” mode to use the unfilled field. This way, using the “Custom property list” mode makes you flexible and allows not to miss the properties that should be applied — just temporarily switch to “All Properties”, fill in the necessary field and switch back.

Unlike “All Properties”, the “Hide defaults” mode provides you with just the filled-in properties. So, as you may see, the “Custom property list” mode represents the middle ground between the two other modes. Such filled-in fields will be shown in bold:

The modes are to be changed by a series of taps, “Custom property list” being followed by the “Hide defaults” / “All Properties” mode selector.
Please note one important detail: if the setting "Group filled properties at top" is on, the filled-in properties are moved to the top of the task properties list, so that it would be easy to find them among the unfilled ones.

Grouping of filled properties at top

Tip. Please tap “Restore” and confirm restoration to retrieve the default task properties order.

Get the most by switching between each of the three modes. Moreover, you may benefit from using a particular mode in this or that situation. For example, setting the “Hide defaults” mode when being under time pressure will help you stay fast and focused, as well as save your time on processing urgent matters.

Feel free to share your impression and ask questions, we are looking forward to your feedback.

Tip. You would need to purchase the Pro version to use these options.

0 Comments:

One more handy feature is now out in your Android task manager MyLifeOrganized - Promoted Action or Floating Action Button. So what is ...

Everything at hand – Promoted Action Button

One more handy feature is now out in your Android task manager MyLifeOrganized - Promoted Action or Floating Action Button.


So what is the purpose of this button? As a rule, it takes some time to reach frequent actions, and to select them in the bottom menu requires several taps. What is the solution if we process several or even multiple tasks? As you may guess, this is the Floating Action Button, which allows to perform an action with one tap.

Promoted action is now on by default, so you will notice a green circle on the task list screen.

Tip: If you decide to turn off the promoted action button proceed to Settings –> General Settings –> Promoted action.


Note. There is one point you may notice: the Promoted action button disappears after you scroll the list to the bottom. This was designed to ensure that the button does not obscure the task and its properties, such as flags and stars, and does not prevent you from managing it. The button will reappear if you start to scroll up.

So, basically Promoted action is the button of the most frequent action. In other words, its main function is to represent the action which is used most frequently among the list of featured actions. In most cases it is the “Add task” action, but you can choose any action you use the most.

Moreover, this is a pane of quick access actions that expand after a long tap. Here is what you will see when you open your active view and long tap the promoted action — more actions expanded and you can choose new action quickly:


Tip. The pane being open, use long tap again with the cross to configure selected Promoted actions.

If you long tap again you will be switched to the configuration of the Promoted Action button. Let us consider its settings in detail. First, you can configure the list of selected actions by moving them from the “Available actions” with a plus, and move back by tapping a minus. This creates a huge space for imagination — you can configure and choose your own combinations, as well as plan complex tool panes. Please mind that the number of actions shown depends on the size of your screen, so you will see only the first several actions from the list after you long tap the floating action button.

If you are not happy with your selection, you may use “Restore” button to retrieve the default set of actions, as well as move actions by tapping on the right beside the action:


Tip. When dealing with any promoted action from the pane, the main green button memorizes your last choice.

We have no doubts that you’ll duly appreciate this new feature and accelerate your interaction tremendously. Just try it yourself. Please share your impressions with us as well.

Tip. You would need to run the Pro version to use this feature.

Stay tuned!

0 Comments:

Another handy feature for your to do list app on Android – toolbar configuration! Why would we need a toolbar? It is true that being ...

New in Android Task Manager: Toolbar Configuration

Another handy feature for your to do list app on Android – toolbar configuration!

Why would we need a toolbar? It is true that being a sophisticated solution with multiple options and features MyLifeOrganized provides us with a lot of opportunities and appliances. However, some of them are often more necessary than other, so we may need to perform some of the actions quickly and regularly. So now you can place such actions to the free space on the bottom toolbar pane.

Toolbar with default actions

Let us consider this feature in more detail.To start with, you may open the settings using a long tap on the toolbar or use the settings (General Settings -> Toolbar Settings). Here you will see the list of  available actions which can be configured to be added to the actions visible in the free space on toolbar.


Use a plus to move an action to the list and a minus to move it back. Having finished your setting, you may return to your active view and see the changes — new actions added to the free space in the bottom toolbar:


As you can see, this screen is too small for all four actions to be seen. No problem. In this case you’ll enjoy rotation, so that you can see how the space for actions has doubled in size:


But what if you are used or wish to get used to tap in a particular place? Don’t worry. Please feel free to set the order of actions in your toolbar by tapping on the right beside the action:

Tip. The description of an action can be viewed with a long tap.

Remember that if you set an action as visible in the toolbar pane, it will be removed from its regular place in the toolbar menu. For example, as we have moved “Undo” to our toolbar, it is going to disappear from its regular place:


Tip. You need the Pro version to use this feature. 

Don’t hesitate to try this feature to improve your personal productivity and interaction with the app.

0 Comments:

We are moving on to describing another new hot and long-awaited feature for your Android to do list app  - Multiselect! Now you can s...

New in Android Task Manager: Multiselect

We are moving on to describing another new hot and long-awaited feature for your Android to do list app  - Multiselect!


Now you can select several tasks from any branches and not only complete, move, copy, cut, delete all of them at once, but also mark as completed or incompleted, skip occurrences and edit properties for them. It’s fast and efficient!

You can open the feature from the bottom menu: tap the ellipsis button -> Multiselect (see the screenshot above).

Tip: you can place Multiselect to the toolbar or promoted action button.

Tip. You may also select either all or none of the elements available within the current view. Please find this option on the top panel.

For instance, you would like to set the context for all elements available within the current view. First, being in Multiselect mode, tap “All” on the top panel and click on the green pencil button (that is “Edit selected tasks”).


After that, tap the field of contexts to access the context list. Now all you have to do is to tick the desired context or create a new one by tapping the “Add new context” field.


Ready? Click “Save” and then “Done” to apply your settings.


If you wish to return from Multiselect mode, use a back tap or just click “Done” to close it.

Tip. You need to run the Pro version to use the Multiselect feature. 

Do not hesitate and try this truly great feature to save lots of time in future. As always, we are happy to receive your impressions, suggestions and other feedback here and on our forum.

0 Comments: